
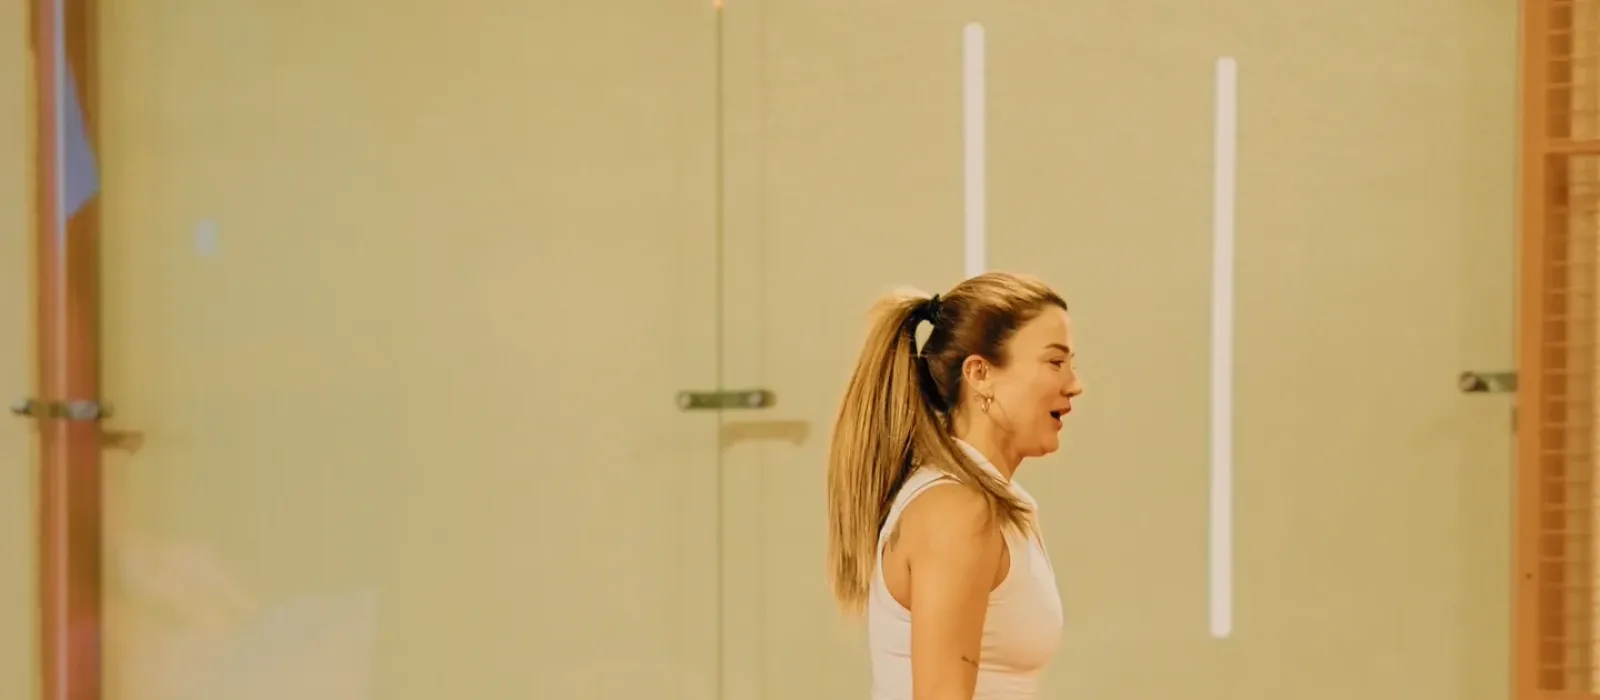
The padel volley is a control shot hit near the net with a short, compact motion, taking the ball out of the air without letting it bounce. Unlike the tennis volley, the purpose of the padel volley is often not to finish the point but to keep the ball low, force the opponent to hit up from the ground, hold your net position and manage the rally in your favor. That’s why a player who volleys well in padel isn’t the one who “hits hard” but the one who “drops the ball low wherever they want.”
In this article, we cover the volley’s three basic functions (block, slice and placement), its step-by-step mechanics, target zones, the relationship between height and depth and the most common mistakes. As the O’Padel Sky coaching team, we start teaching the volley at level 2.0-2.5, because a player who can get to the net but can’t control the volley gives back the position they won within the first two shots.
Summary
- The padel volley is a short, compact stroke driven from the shoulder, not the wrist; there’s almost no backswing.
- It has three functions: the blockthat absorbs incoming pace, the slice that slows the ball down and keeps it low, and the placement.
- The contact point is in front of the body and as high as possible; the racket face slightly open, the wrist firm.
- The ideal stance at the net is about two steps back from the net; crowding right up against the net gets punished with a lob.
- The measure of success isn’t speed but how low the ball bounces on the opponent’s side.
Why the volley works differently in padel
A padel court is 20×10 meters with glass at the back. These two facts make the volley’s job completely different from tennis. In tennis, a hard volley often ends the point; in padel, a hard volley comes back off the glass and gifts the opponent an easy shot.
In padel, points are won by forcing the opponent into errors. The most efficient way to do that is to keep the ball below the opponent’s knees and away from their body. A low ball has to be hit upward; a ball hit upward rises over the net and gives you a bandeja or smash opportunity on the next shot. In other words, the volley doesn’t win the point by itself; it sets it up.
The second difference is about speed. A padel ball has less pressure than a tennis ball and the court is smaller; this gives the player at the net a luxury not found in tennis: enough time to really control the ball. But the same slowness also gives the opponent a chance to defend. So the side that wins at the net isn’t the one that finishes with a single hard shot; it’s the one that condemns the opponent to lower and lower balls with three or four volleys in a row.
The third difference is about court width. On a ten-meter-wide court, two players can cover almost the entire line, so hitting into open space isn’t as easy as in tennis. In padel, space isn’t found, it’s created: you pull the opponent forward with a low volley and send the next ball deep. The volley is the first move in this sequence.
Grasping this logic comes before all the technical details. If you want to see this division of roles among the shots as a whole, our padel shot techniques guide is a good starting point.
The volley’s three functions: block, slice, placement
Thinking of the volley as a single shot is the most common learning mistake. In practice, there are three separate tasks, and each requires a different racket motion.
Block volley
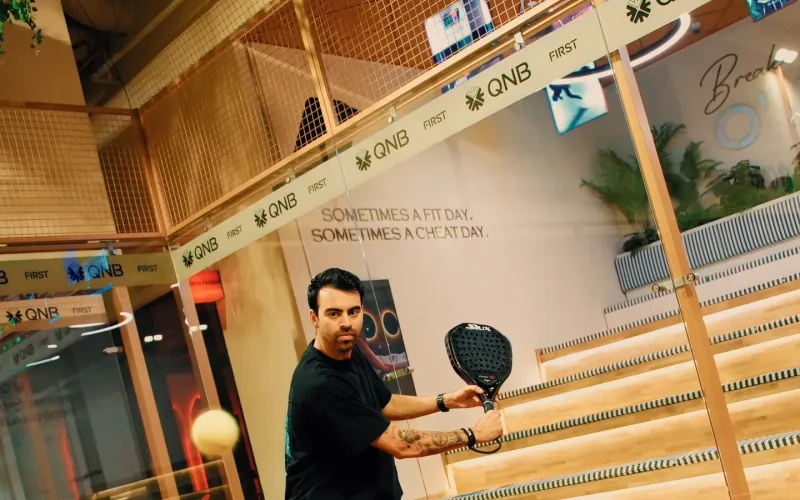
Your opponent sent you a fast, low ball; you have no time. On a block volley, you put the racket in front of the ball and don’t take it back at all. Your arm is close to your body, elbow slightly bent, racket face open. The goal is to absorb the incoming pace and drop the ball short near the net. The only mistake to make on this shot is taking the racket back and trying to “hit” it.
Slice volley
The ball comes at medium pace and above net height. You apply slice by bringing the racket from high to low and slightly outward, passing under the ball. Slice slows the ball down and keeps the bounce low, forcing your opponent to take the ball below the knee. This is mostly what people mean by a “good volley” in padel. If you want to see the racket-face angles and different effects of slice in detail, read types of spin in padel post.
Placement volley
The opponent is off balance and the court is open. Here, direction wins, not power: you place the ball at the opponent’s feet, between the two players or at a sharp angle near the side glass. This volley requires partner coordination; for sharing responsibility in the middle, whose ball is the middle ball offers a practical framework.
Step-by-step volley mechanics
The sequence below is the same for the forehand and backhand volley; the only difference is the direction of body rotation.
- Ready position: Racket in front of the body, above net height, supported with both hands. Weight on the toes of the front foot.
- Split step: Just before the opponent hits the ball, do a small hop and spread your feet on landing. If you skip this step, your body reacts late.
- Shoulder turn: Instead of taking the racket back with your arm, turn it slightly from the shoulder. The total backswing shouldn’t exceed shoulder width.
- Step forward: Take a diagonal step toward the ball with the opposite foot. This step adds balance to the shot, not power.
- Contact: Ball in front of the body, close to eye level; racket face open 15-25 degrees; wrist locked.
- Short finish: After contact, the racket travels 30-40 centimeters forward and down, then stops. A long finish ruins control.
- Recovery: The racket returns to center immediately, eyes on the opponent’s racket. For recovery mechanics, our padel footwork article covers it in detail.
The wrist lock is the most neglected item on this list. A volley hit from the wrist is inconsistent and causes pain over time. We recommend reading our wrist use in padel article, which covers the topic in detail.
Target zones and decision table
Where you send the volley depends on the height of the incoming ball and the opponents’ positions. The table below is the simple framework we use to make quick decisions on court.
| Height of the incoming ball | Volley type | Goal | Expected result |
|---|---|---|---|
| Well above net height | Slice volley or bandeja | Deep to the opponent’s backhand side | The opponent stays in the back court |
| At net height | Slice volley | Angle near the side glass | The opponent is pulled off the court |
| Below net height | Block volley | Short near the net, crosscourt | The opponent has to run forward |
| At the feet, fast | Block volley | The opponent’s feet or the gap in the middle | You gain time and keep your position |
| Slow and in the middle | Placement volley | Between the two opponents | Confusion, an error or a weak return |
The table has one more hidden item: on some balls, the right answer isn’t a volley. If the opponent sent a ball high and deep enough to push you off the net, the best decision is to drop back and take the ball off the ground, or even hit your own lob in reply. When the lob is defense and when it sets up an attack padel lob technique is explained with decision criteria in our article.
The first row of the table draws an important line: once the ball passes a certain height, you’re no longer in volley territory but in the overhead zone. That line and the right choice how to hit a bandeja and víbora technique are explained in detail in our articles. When a finishing opportunity arises, padel smash types our article shows which smash to choose.
Working on the block, slice and placement versions of the volley under a coach’s supervision shortens the learning time. You can plan a lesson or session on our indoor courts at Skyland Istanbul.
The right position at the net
No matter how good your volley technique is, it won’t work if you’re standing in the wrong place. In padel, the ideal spot at the net is about two steps (1.5-2 meters) back from the net. This distance manages two risks at once: if you crowd the net, the lob beats you; if you stand too far back, you meet low balls at your feet.
The distance between you and your partner is also critical. You should move together in line, keeping three or four meters between you. If one moves forward and the other stays back, the opponent uses the diagonal between you. The tactical side of this coordination padel net position and right and left player roles articles.
The balance between forehand and backhand volleys is also part of positioning. Most players are weaker on the backhand volley and, without realizing it, turn their body to pull every ball onto their forehand. This habit leaves half the court to the opponent. The right approach is to take the racket across without abandoning the center and use one hand, not two, on the backhand volley with a short finish. If you want to refresh basic backhand mechanics, padel backhand technique our article makes this transition easier.
There’s also a silent rule about timing: a large share of errors at the net come not from technique but from moving too early. If you start shifting your weight before the opponent hits, you can’t respond to a change of direction. Keeping your split step in sync with the opponent’s contact eliminates most of these errors on its own.
There’s also a simple rule for your eyes: watch the opponent’s racket, not the ball. If the opponent’s racket face opens, a lob is coming; if it closes, a low, fast ball is coming. This reading habit increases your response speed without lengthening your reaction time.
The six most common volley mistakes
- Long backswing: Taking the racket back leaves no time in padel’s fast net game and sends the ball long. Keep your backswing to shoulder width.
- Closed racket face: If the face is closed, the ball goes into the net. The volley face is always slightly open.
- Hitting hard: A fast volley comes back off the glass. The goal is low, not fast.
- Waiting for the ball and meeting it beside the body: Contact should be in front of the body. A ball met beside you can’t be controlled.
- Hitting from the wrist: A source of inconsistency and injury. Lock your wrist and use your body.
- Freezing after the shot: The volley is preparation for the next shot. Make returning the racket to center a reflex.
Most of these mistakes are hard to spot on your own; a 30-second clip of net play filmed on camera is usually enough. We describe the method step by step in our padel video analysis article.
Four drills that improve your volley
- Wall block series: Two meters from a wall, 30 reps using only the block motion. No backswing, wrist locked.
- Low target game: Facing your partner at the net, try to keep the ball low over the net with slice. The goal isn’t points but how low the ball bounces.
- Direction call: Your partner calls “cross” or “line” as they hit; you place the ball in that direction. It develops decision speed.
- Lob-volley transition: Your partner alternates low balls and lobs. You volley the low ball and hit a bandeja on the high one. This drill gives you the real rhythm of net play.
For a wider set you can practice alone, check out our list of 20 padel drills, and to solidify your technical foundation, continental grip you can read our article. On volley technique, the grip choice isn’t up for debate: one grip, all net shots.
Conclusion: lock in your volley at the net in Sarıyer
The volley is the art of holding the position you’ve won in padel. The day you stop hitting hard and focus on dropping the ball low, who wins the points at the end of rallies starts to change. Our indoor, climate-controlled courts at Skyland Istanbul offer an ideal environment for this work: since wind doesn’t disrupt net play, you see where the ball really goes, and 500+ lux LED lighting lets you track fast net balls clearly. If you’re coming from Sarıyer, Maslak, Ayazağa or Levent, padel lessons you can start with net blocks, Americano and level league matches to test what you’ve learned, our courts and reservation options are worth a look.
FAQ
The purpose and length of the motion differ. In tennis, the volley is usually hit hard and deep to finish the point. In padel, since the back glass returns hard balls, the volley serves to slow the ball down, keep it low and force the opponent to hit up from the ground. The backswing is shorter and the racket face more open.
The Continental grip. There is no time to switch grips between forehand and backhand volleys, and the Continental naturally keeps the racket face slightly open, which makes it easier to apply slice.
About two steps, or 1.5-2 meters, back from the net. Stand closer and the lob will beat you; stand farther back and you will be meeting low balls at your feet.
The two most common causes are a closed racket face and meeting the ball beside or behind your body. Keep the racket face slightly open and move the contact point in front of your body; these two fixes are usually enough.
The block volley can be practiced from the very first lessons. The slice volley and the placement volley usually settle in around the 2.5-3.0 level; at this stage the reflex to hold your net position also starts to develop.


 Padel Courts
